
Classroom headphones take daily wear from repeated plugging, unplugging, wiping, and storage. In K-12 environments, a simple care routine matters because student devices are now a regular part of instruction and assessment, and audio failures can interrupt both learning and testing. A consistent 1:1 headphone-to-student model also makes care easier by improving hygiene, fit, and accountability.
This guide explains practical steps teachers, IT teams, and purchasing staff can use to keep classroom headphones working longer. The focus is not on complicated maintenance, but on repeatable habits that reduce cable strain, limit damage, and make end-of-year resets more manageable.
Daily handling habits that extend headphone life
Most headphone damage in schools does not start with a major break. It usually starts with small daily habits: pulling on the cord, wrapping cables too tightly, dropping headphones into bins, or forcing the wrong plug into a device case.
The easiest way to reduce replacement needs is to standardize a few handling rules across classrooms and device carts.
Teach students to unplug by the connector, not the cord
Cable strain is one of the most common causes of headphone failure. Students should hold the plastic or metal plug housing when disconnecting from Chromebooks, iPads, laptops, or testing devices. Pulling on the cable itself can loosen internal wiring over time.
Assign one headphone to one student
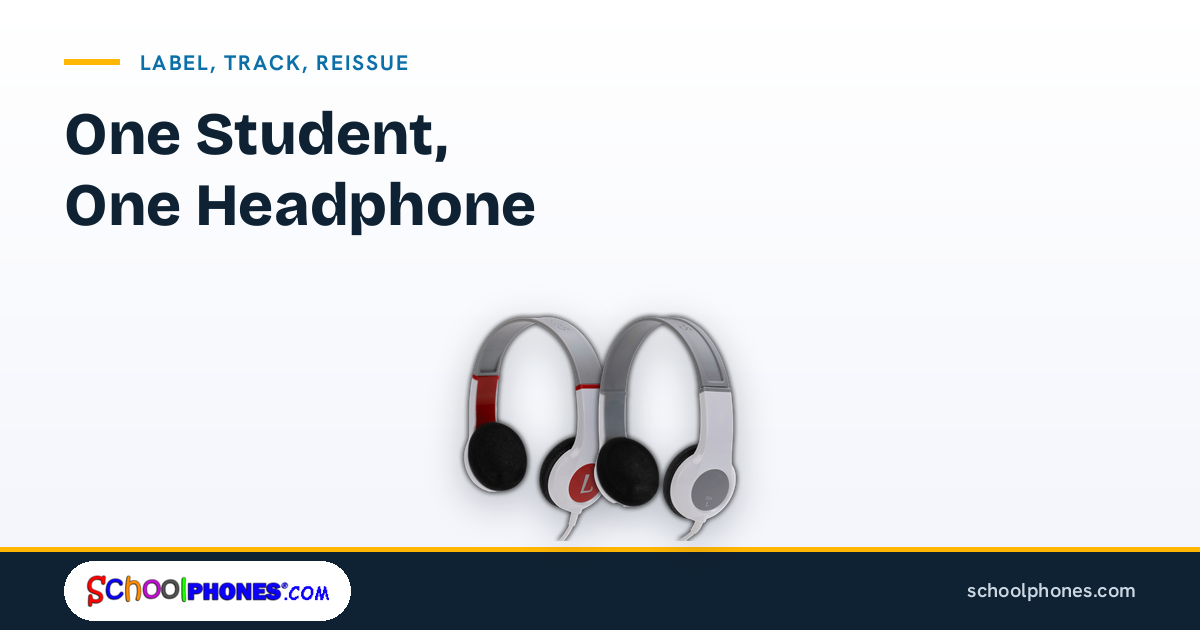
A dedicated set for each student supports better hygiene and clearer accountability. It also helps staff identify patterns of wear, fit issues, or recurring misuse. For schools planning purchases around this model, school headphones for 1:1 classroom use are typically easier to label, track, and maintain than mixed assortments.
Use both hands for adjustment
Students often stretch one side of the headband when putting headphones on quickly. Over time, uneven force can weaken adjustable parts. Show students how to expand the headband with both hands before placing it on their head.
Keep volume at safe levels
The National Institute on Deafness and Other Communication Disorders notes that sounds at or below 70 dBA over 24 hours are generally considered safe, while louder sounds increase the risk of hearing damage over time. In schools, volume-limited headphones can help support safer listening habits during regular classroom use.
For younger students especially, it helps to pair care routines with age-appropriate equipment such as headphones designed for kids in school settings, where fit and durability are part of the daily-use equation.
Create a 30-second end-of-class routine
Short routines are more likely to stick than long ones. At the end of each class or station rotation, students can:
- Wipe visible dirt from ear pads and headbands with an approved cloth
- Loosely coil the cable
- Place the plug on top of the coil so it does not drag
- Store the headphone in its assigned location
- Report bent plugs, missing pads, or one-sided audio right away
This kind of routine helps staff catch small issues before they become full replacements.
Safe cleaning methods for pads, cables, and headbands
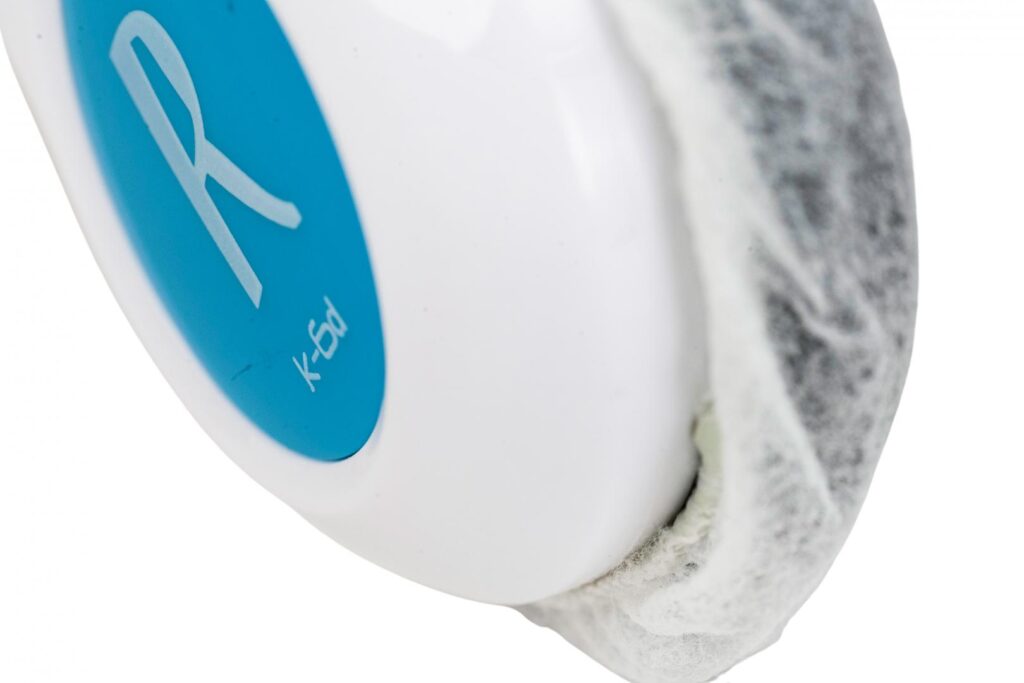
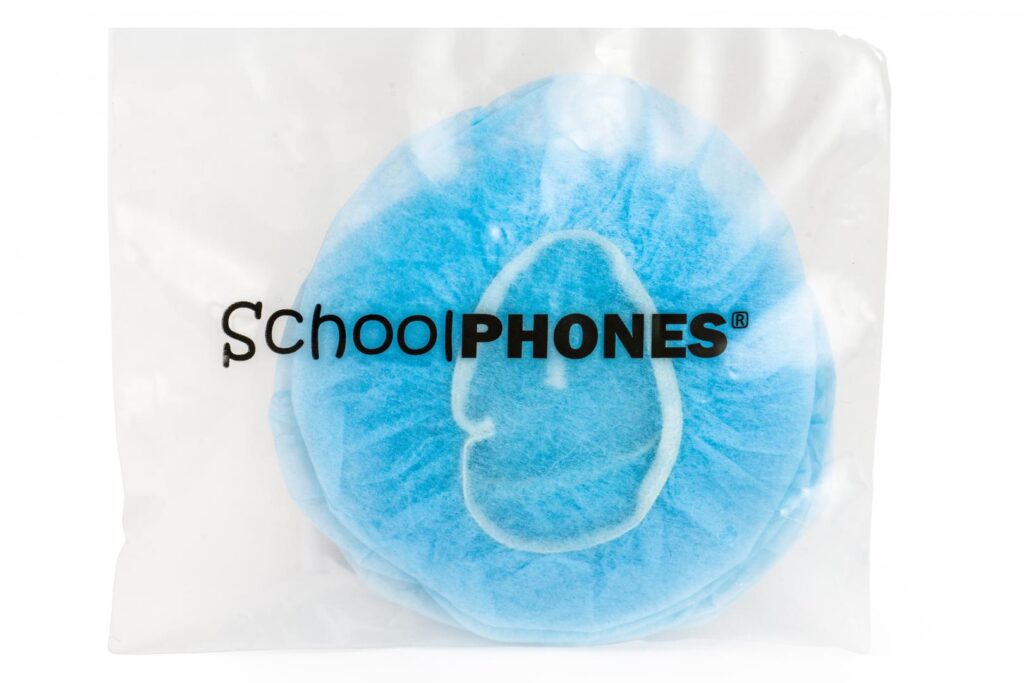
Cleaning matters for both hygiene and product life, but harsh chemicals and excess moisture can damage headphone materials. The safest approach is a light, consistent cleaning process using district-approved supplies that are compatible with electronics and synthetic surfaces.
Start with manufacturer guidance and district policy
Before using any cleaner, confirm that it aligns with your district’s health and facilities guidance. If a product is not intended for electronics or faux leather/vinyl surfaces, it may dry out ear pads, cloud plastic, or seep into speaker housings.
How to clean ear pads
Ear pads collect skin oils, dust, and classroom residue. To clean them safely:
- Disconnect the headphones from the device.
- Use a soft cloth lightly dampened with water or an approved electronics-safe cleaner.
- Wipe the outer surface of each pad gently.
- Use a dry cloth to remove remaining moisture.
- Let the headphones air dry fully before reuse or storage.
Avoid soaking pads or spraying cleaner directly onto them. Excess liquid can work its way into seams and speaker components.
How to clean cables
Cables are often overlooked, but they pick up dirt from desks, floors, and charging carts. Wipe the cable from top to bottom with a lightly dampened cloth while keeping moisture away from the plug tip and strain relief points. Do not twist the cable tightly while cleaning.
How to clean headbands and adjustment points
Headbands should be wiped with a soft cloth and dried immediately. Pay attention to sliding adjustment areas where dust and residue can build up. If these sections stay dirty, they may become harder for students to adjust smoothly.
What to avoid during cleaning
- Do not submerge headphones in water.
- Do not spray liquids directly into speakers, ports, or seams.
- Do not use abrasive scrubbers.
- Do not use bleach or harsh solvents unless the manufacturer specifically approves them.
- Do not store headphones before they are fully dry.
If your school uses multiple device types, it also helps to confirm fit and connector compatibility during cleaning checks. For example, classrooms using Apple tablets may benefit from reviewing headphones for iPads in school environments so staff can spot adapter or plug issues before the next lesson.
Storage routines that reduce tangles and damage
Good storage is less about neatness and more about preventing avoidable stress on cables, plugs, and ear cups. The best storage routine is one students can repeat correctly every day without much supervision.
Use loose cable wraps
Tight wrapping can weaken internal wires, especially near the plug and ear cup entry points. Teach students to make a loose loop instead of winding the cable tightly around the headband. A simple over-under style is helpful for older students, but even a basic loose coil is better than a tight wrap.
Store headphones in a consistent orientation
Whether you use bins, cubbies, hooks, or individual bags, consistency matters. When every student stores headphones the same way, staff can quickly spot crushed ear pads, twisted cables, or missing parts.
Useful storage rules include:
- Keep the plug visible and accessible
- Do not place heavy devices on top of headphones
- Do not cram multiple sets into one small container
- Keep cables inside the storage area, not hanging out
- Separate damaged units for inspection right away
Match storage to the device environment
Headphones used with tablets may need different storage than headphones used in fixed desktop labs or testing carts. In mobile classrooms, compact storage that protects the plug is especially important. Schools comparing options for mixed-device use can review classroom headphones for tablets to think through cable length, connector type, and daily handling needs.
Label for accountability
Labeling each headphone with a student name, ID number, or classroom asset code supports the 1:1 model and reduces confusion. It also makes it easier to identify recurring issues tied to a specific seat, device, or usage pattern.
For district teams, this is one of the strongest arguments against communal headphone pools. Shared sets are harder to track, harder to clean consistently, and more likely to be mishandled because responsibility is unclear.
Protect headphones during testing windows
Testing periods often increase daily use and reduce turnaround time for troubleshooting. The Consortium for School Networking notes that reliable infrastructure and device readiness are central to digital learning operations, and the same practical principle applies to audio accessories: if headphones are part of the testing workflow, they need to be checked, stored, and staged in advance.
Schools preparing for assessments may want to review headphones for online testing when standardizing storage and readiness procedures across classrooms or labs.
End-of-year inspection and reset checklist
The end of the school year is the best time to reset your classroom headphones before summer storage or fall redistribution. A structured inspection helps schools separate units that are ready for reuse from those that need repair, replacement, or parts review.
Step 1: Sort by classroom, grade, or device type
Start by grouping headphones in a way that matches how they will be issued next year. This makes inventory easier and helps purchasing teams identify whether certain grades or device programs are seeing higher wear.
Step 2: Inspect the highest-failure points
Check each unit for:
- Bent or loose plugs
- Frayed cable sections
- Loose strain relief near the plug or ear cup
- Cracked headbands
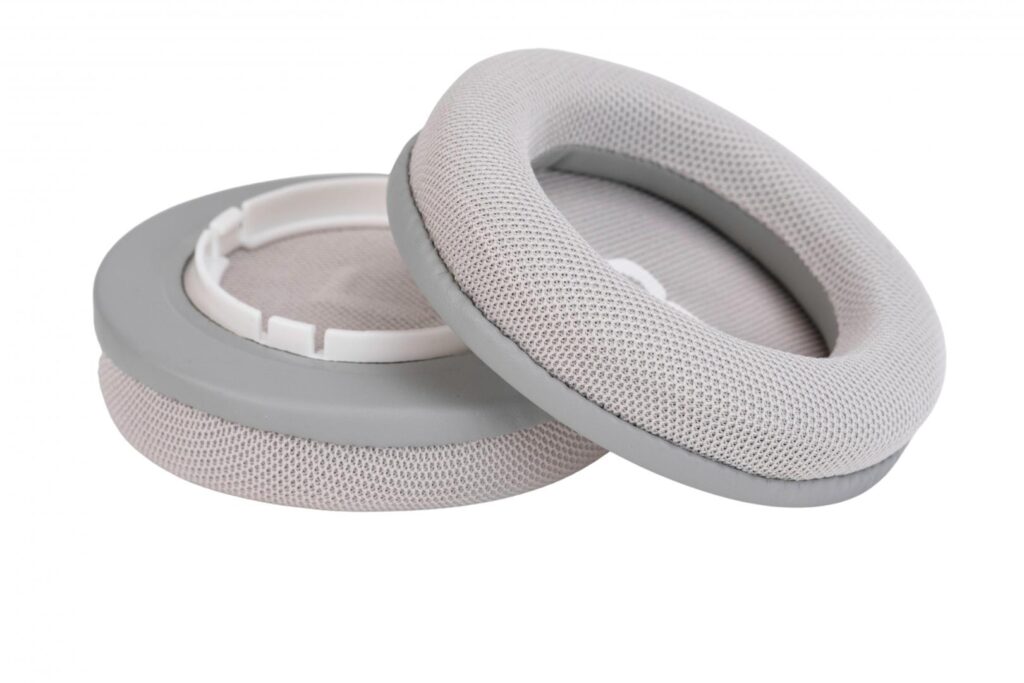
- Flattened, peeling, or torn ear pads
- Stiff or uneven size adjustment
- Intermittent sound in one or both sides
A quick audio test with a known working device can confirm whether the issue is the headphone or the device port.
Step 3: Clean before long-term storage
Do not put away dirty headphones for the summer. Residue left on pads and headbands can become harder to remove over time, and moisture trapped in storage can create additional problems. Clean, dry, and inspect each unit before packing it away.
Step 4: Replace missing or worn components where possible
If your school uses modular or easily replaceable parts, the end-of-year window is the right time to handle those updates. This is often more efficient than waiting until the first week of school, when classrooms need working audio immediately.
Step 5: Document losses and recurring damage patterns
Track how many units were lost, how many failed, and what kind of damage appeared most often. Even a simple spreadsheet can help purchasing staff decide whether next year’s order should prioritize shorter cables, different connectors, more durable construction, or a larger quantity for incoming enrollment.
Step 6: Reset labels and reissue plans for a 1:1 model
Before the new school year, decide how each student will receive one dedicated headphone. This is the cleanest way to support hygiene, reduce confusion, and improve accountability from day one. If your district is expanding or replacing inventory, standardizing around durable school-ready models can simplify both procurement and classroom routines.
A practical next step is to review your current inventory, identify failure patterns, and build next year’s order around dedicated student assignment rather than shared use. If you need to replace aging units or standardize across classrooms, request a bulk quote or shop durable school headphones at SchoolPHONES® on SchoolPHONES®.com.
FAQ
How often should classroom headphones be cleaned?
Light cleaning should happen regularly, especially after visible dirt or frequent use. A quick wipe-down at the end of the day or week, plus a deeper inspection before breaks and at year-end, is a practical school routine.
What is the safest way to store classroom headphones?
Store each student’s headphone in an assigned location with the cable loosely coiled. Avoid tight wraps, overfilled bins, and heavy items placed on top of ear cups or plugs.
Why is a 1:1 headphone-to-student model better than shared sets?
A dedicated headphone for each student supports better hygiene, clearer accountability, more consistent fit, and easier tracking of damage or loss. It also simplifies cleaning and reissue procedures.
What parts of classroom headphones fail most often?
The most common trouble spots are plugs, cable strain relief points, ear pads, and adjustable headbands. These areas should be checked first during routine inspections.
When should schools replace classroom headphones instead of cleaning them?
If a unit has intermittent audio, exposed wiring, a bent plug, cracked structural parts, or badly deteriorated ear pads, replacement is usually the better option. Cleaning helps with upkeep, but it cannot fix electrical or structural failure.

Leave a Comment!