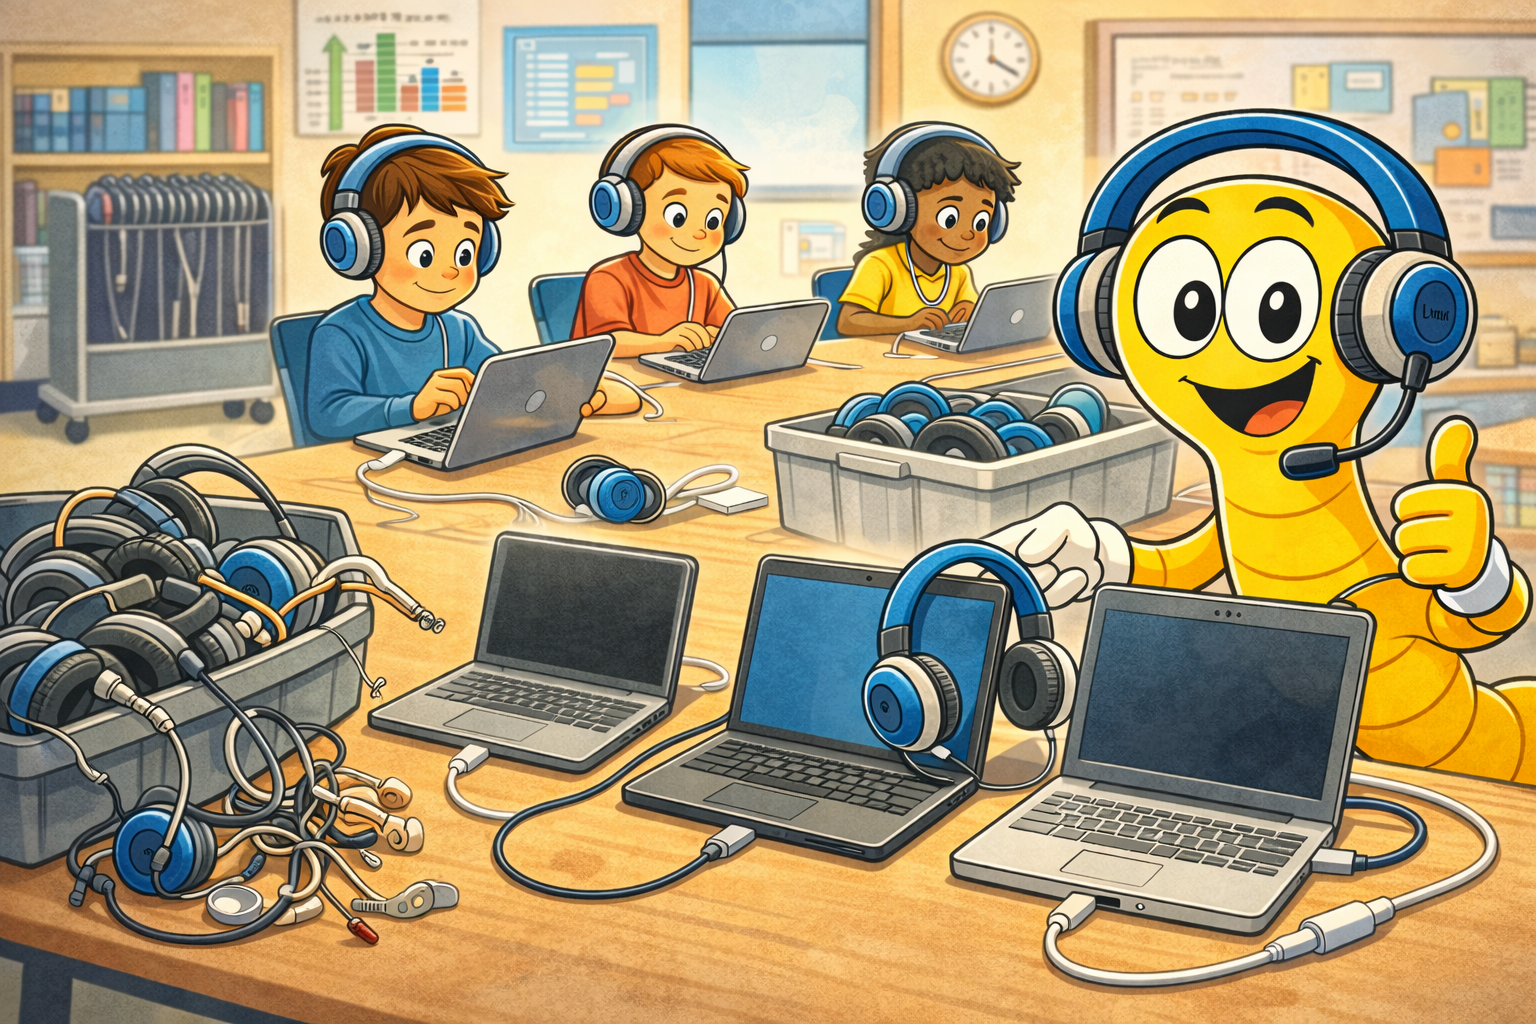
When it comes to choosing the best headphones for schools, durability, hygiene, and ease of maintenance are essential. That’s why SchoolPHONES® headsets are designed with interchangeable cables—a feature that extends the life of the product while offering flexibility for different devices.
Whether you’re using these educational headphones in a classroom listening center or across a school-wide 1:1 technology program, proper cable installation is crucial to avoid returns and ensure reliable performance.
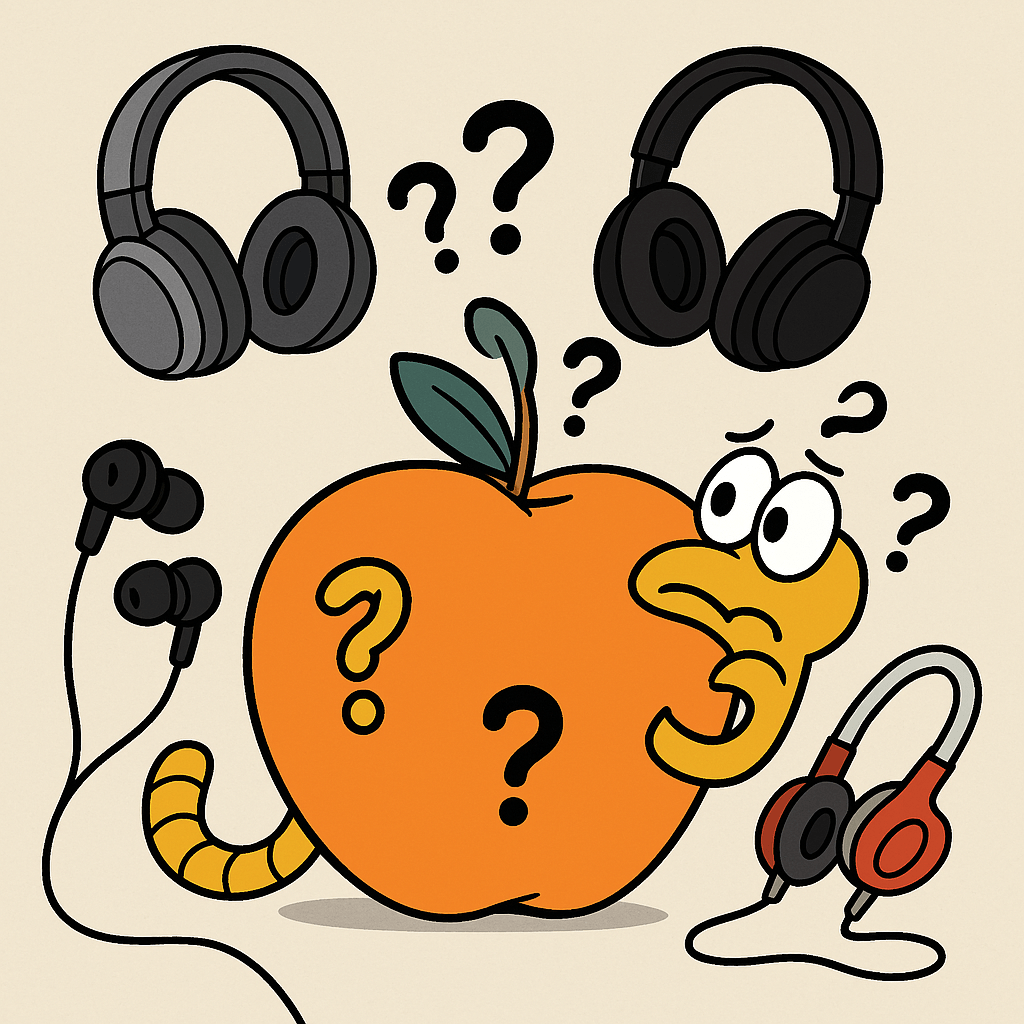
Why Are the Cables Detachable?
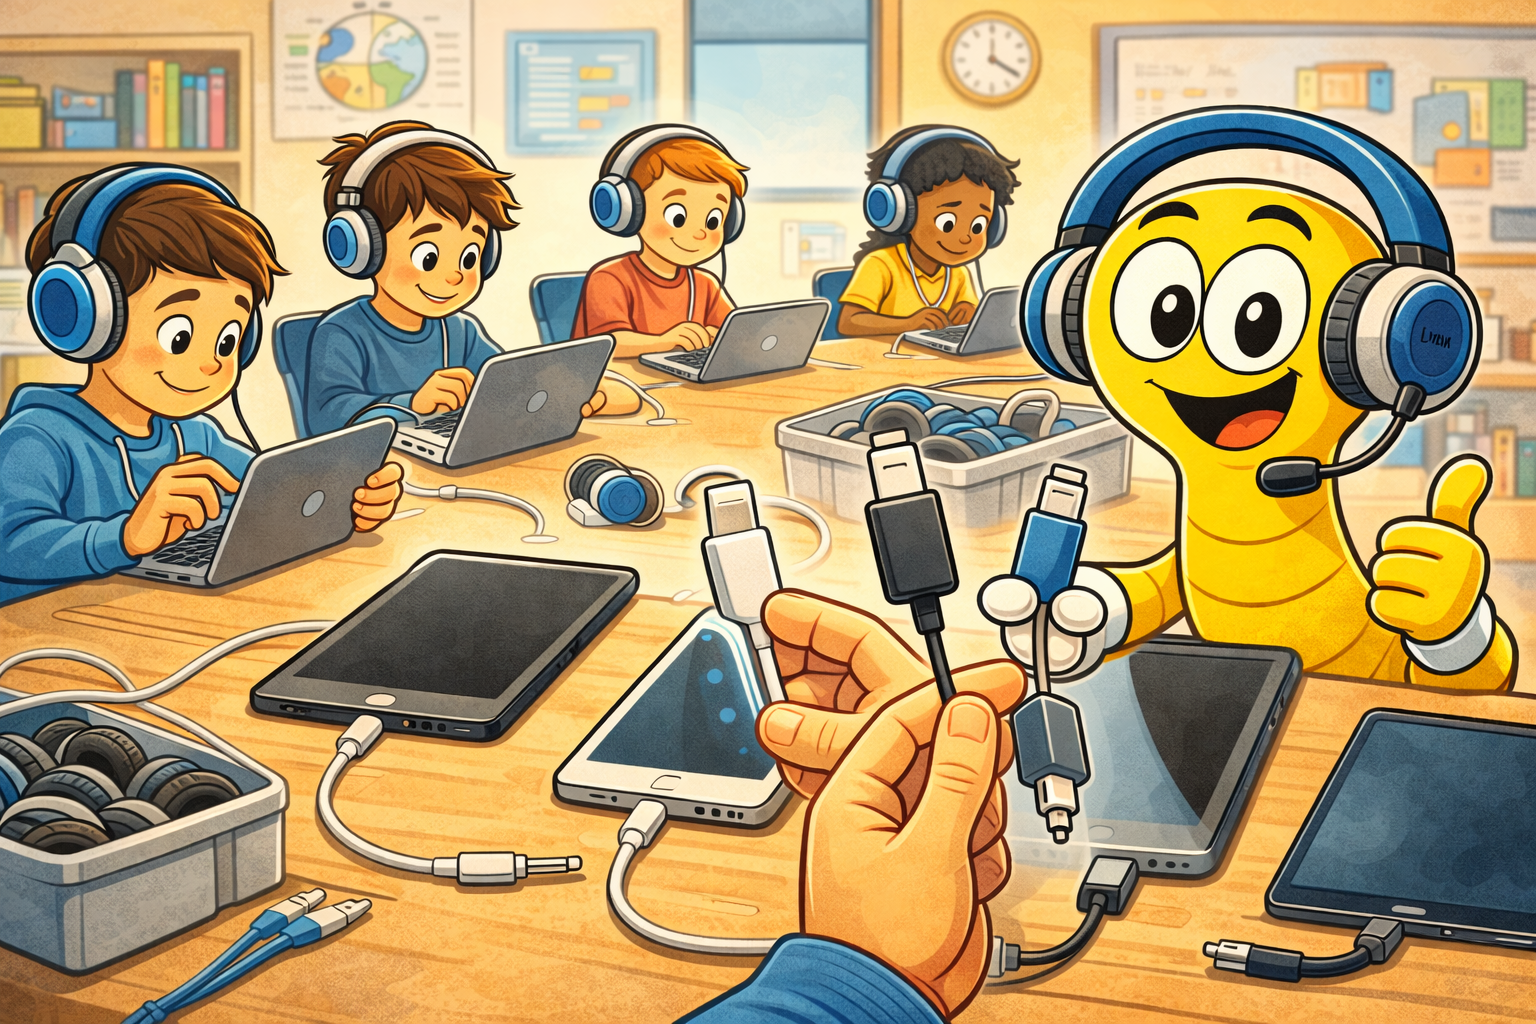
Detachable or replaceable cable headphones help schools save money and reduce electronic waste. Rather than replacing an entire headset when a cord is damaged or worn, SchoolPHONES® allows you to simply swap out the cable. This system also supports different plug types (TRRS, USB-A, USB-C, magnetic breakaway), making it easy to adapt to tablets, Chromebooks, laptops, and other classroom AV equipment.
Step-by-Step: How to Attach Your
SchoolPHONES® Cable or Microphone

1. Identify the PEAK and VALLEY
Unlike standard audio plugs, the SchoolPHONES® connector features a unique shape:
- PEAK: A raised section along the plug’s collar
- VALLEY: A matching indentation
The headphone port itself has a corresponding PEAK and VALLEY design. This ensures a secure, fixed orientation—especially important for headphones with a microphone, like our SpringBoom™ headsets.
2. Align the Plug
Match PEAK to PEAK and VALLEY to VALLEY. This alignment is critical for:
- Full audio functionality (both ears)
- Microphone activation (on headsets)
- Preventing damage from misalignment
3. Insert Firmly – No Twisting
Once aligned, press the plug firmly into the port until it is fully seated. Do not twist. A proper fit provides:
Optimal voice pickup when used with educational software
Tangle-free connection
Durable contact for daily use
Removing the Cable or Microphone:
To prevent damage:
Grip the headphone ear cup and pull the cable or microphone firmly straight out by the plug (or by the microphone base nearest the plug) –
GRIP AT THE PLUG. PULL STRAIGHT OUT. DO NOT YANK, JERK, TWIST THE PLUG, OR PULL BY THE CABLE.
Our plugs are designed to fit snugly in a set orientation, but are removable with a little elbow grease.
Our cables and microphones are NOT designed to rotate or twist – doing so may void your warranty, or damage the cable or headphone.
Bonus Tip: Label & Train
To reduce tech support tickets and minimize confusion:
– Attach a copy of the included instruction pamphlet on the exterior of your classroom bins
– Train student helpers or media aides on installation best practices.
Why It Matters in Schools
Incorrect cable insertion is one of the most common reasons for student headphones being reported as “broken.” Avoiding this not only reduces downtime but also:
Protects your school’s investment in educational headsets
Lowers replacement costs
Keeps students engaged in learning centers
SchoolPHONES®: Built for Education
All SchoolPHONES® models—from the K6 series for younger elementary school students to the BK series for middle school students and up—are engineered to withstand the rigors of daily school use. Our headsets feature:
Replaceable ear cushions for hygiene and comfort
Chew-resistant, reinforced cables
Single-sided entry to prevent tangling
Thick PVC jack shielding that’s easy to clean
Conclusion
If you’re looking for the most reliable headphones for schools, choose a model that’s not only durable but also designed with easy maintenance in mind. SchoolPHONES® detachable cable system gives schools the flexibility they need—and installing the cable correctly is the first step to ensuring that flexibility lasts.
For more information, visit The Knowledge Center

Leave a Comment!